Finance
How To Add A Polygon To Metamask? Step-By-Step Guide

Metamask is an important crypto platform. It is an extension of the browser. It operates on the Ethereum network. This is a comprehensive crypto wallet that has existed for many years.
It is an ERC-20-compliant wallet. It can easily connect with multiple wallets and tokens. It has enjoyed a very large user base for years. Metamask has revolutionized the establishment of connections in multiple devices at once.
Metamask can be used to exchange and manage digital assets. These tokens can be exchanged and swapped against each other. It helps to secure the decentralized network. You are the master of your data. This network helps to keep your network safe and secure.
It is a kind of wallet that helps to store multiple tokens in one go. You can convert one form to that another. Metamask has been mainly used as a non-custodial wallet.
It is an open-source platform. You can easily navigate your tokens and maintain a proper portfolio. The users enjoy autonomous control across the wallet.
The wallet authenticates every transaction and signs that automatically before settling down the trade. Metamask is an easy-to-use interface and helps to store other tokens such as Bitcoin, Ethereum, and others.
What Is A Polygon?
Polygon is referred to as the Matic Network. It is a token that is operated on Ethereum. It is a robust platform that settles the trade safely and securely.

The Layer 2 sidechain powers it. It has its proof-of-stake ecosystem, which annually observes participation from the token holders. Every token holder needs a smart contract to interact with the wallet.
This protocol helps to scale the Ethereum transactions. It connects the tokens. Many decentralized applications support this wallet.
It establishes a connection with other related crypto apps. This interaction makes it convenient to improve the functioning of the overall application. The tokens are compatible with the main charts of Ethereum. They are exclusively available on crypto exchanges.
How To Add A Polygon To The Metamask?
As already it has been discussed, the polygon tokens can be added to the platforms compliant with it. Many crypto wallets are operational and supportive of polygon tokens. Polygon tokens are easily supported on Metamask.
However, metamask doesn’t add Polygon tokens by default. The user has to add these tokens to the Metamask specifically. This is an easy process, and this connection can be easily established.
Step 1: Install And Activate Your Metamask
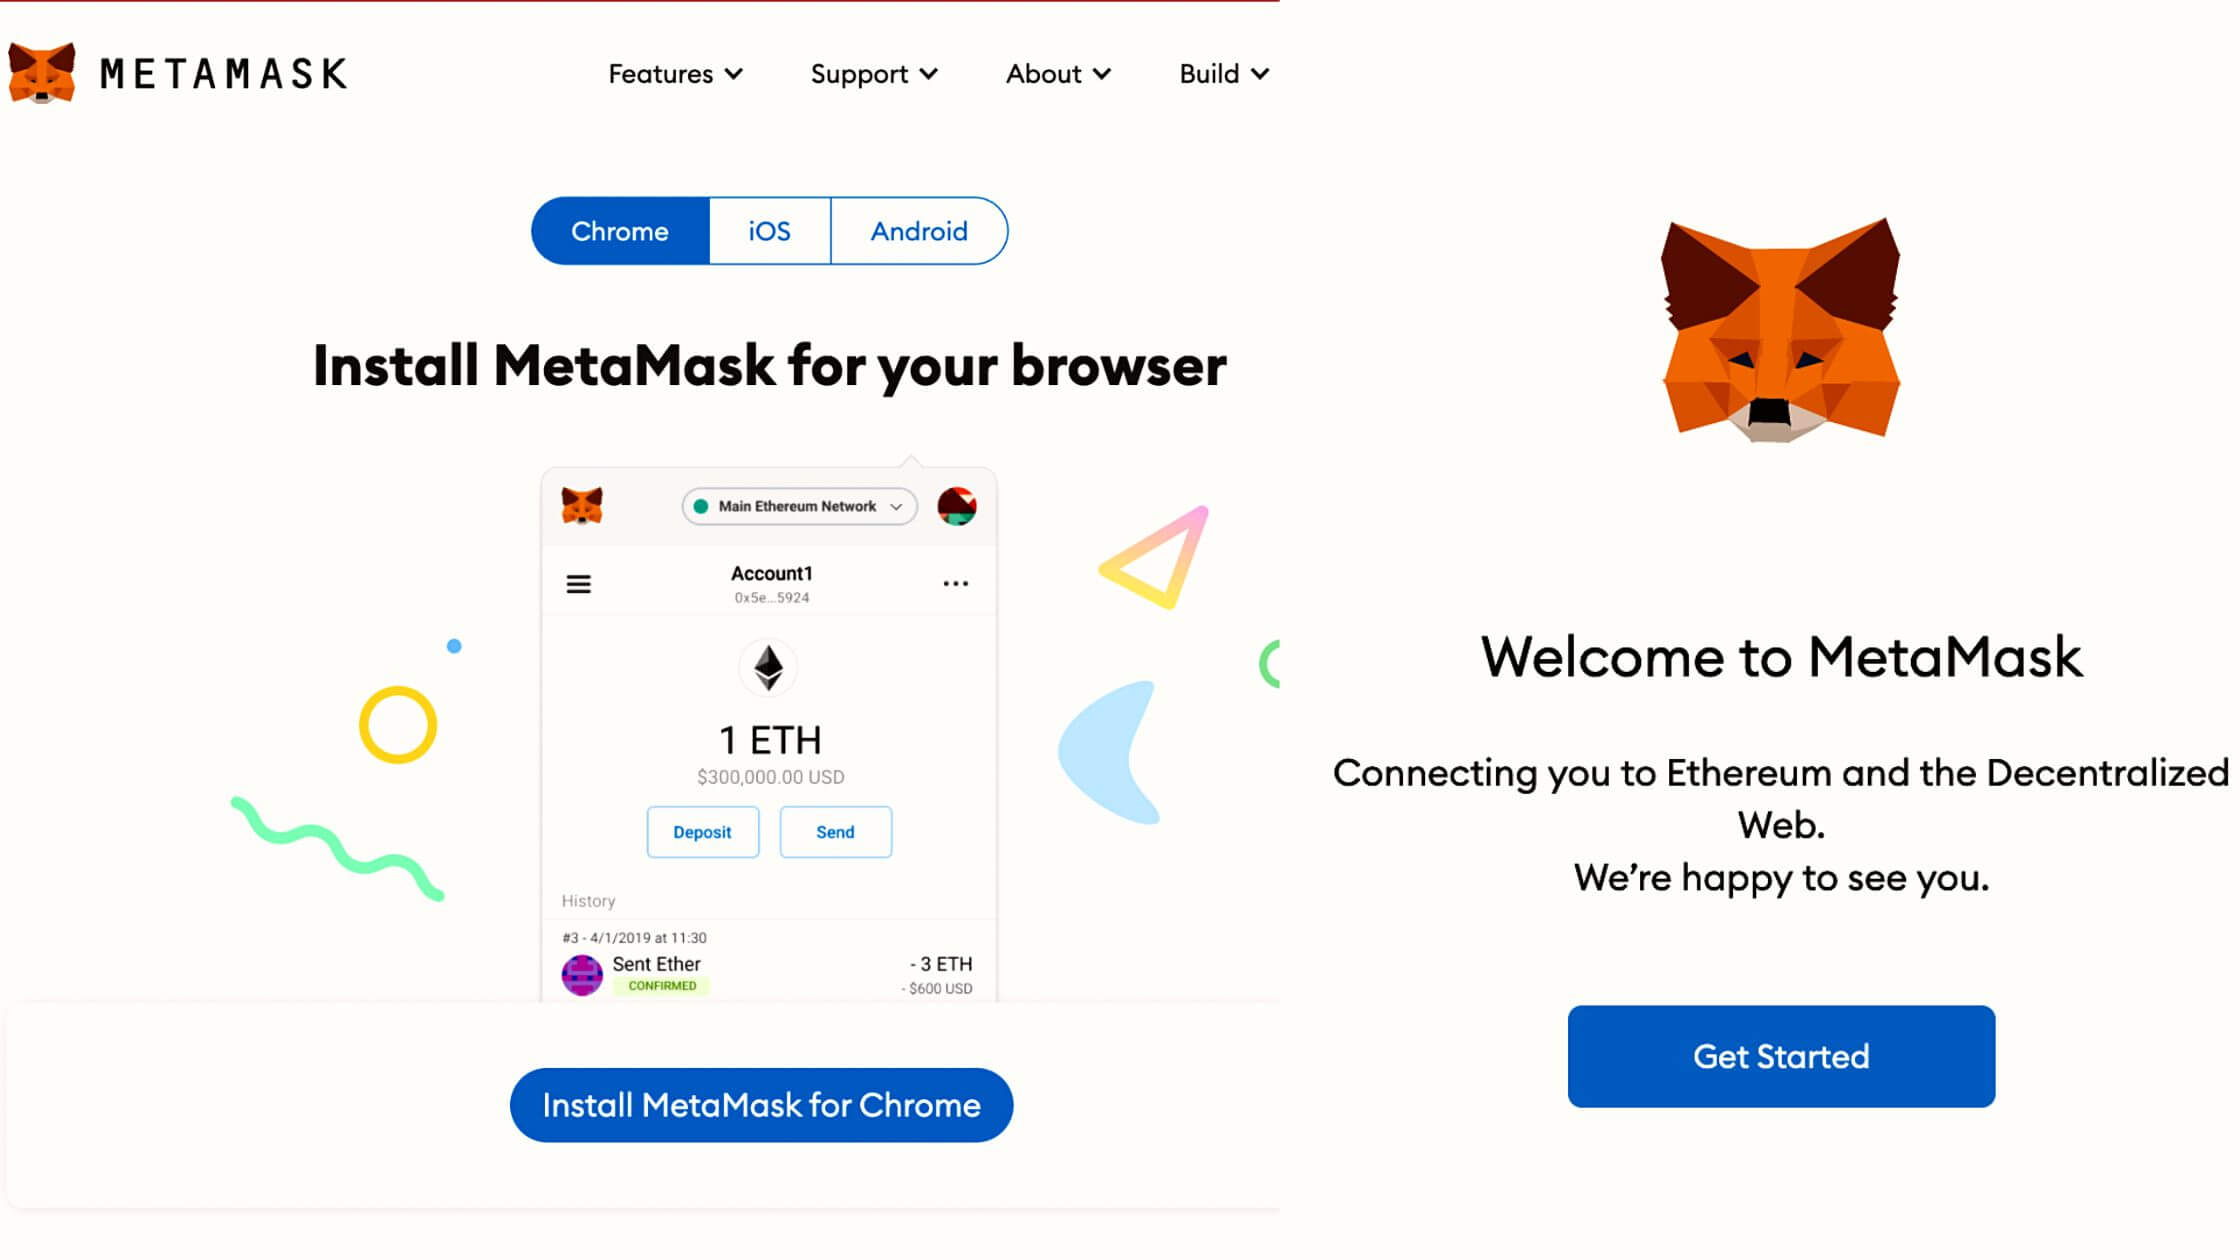
As a first step, users must download Metamask from any web browser, such as Chrome. This Metamask can also be downloaded from the official website of Metamask. Once you have downloaded the basic metal mask setup, you will now have to launch the setup.
Step 2: Get Started With Metamask
The downloads panel of Chrome will prompt you to install the Metamask extension. Once you click on this option, the installation process will ask for permission. Check these text boxes and get going with the installation.
The metamask would appear on the Chrome panel, signifying that the installation process has been completed.
Step 3: Start Working On The Metamask.
The home page of Metamask will appear on your screen. You have to select the ‘Get Started’ option. The users will be redirected to a new page. It will provide you with two options.
If you are new to Metamask, you will have to select one of the two options from Importing Wallet and Creating New Wallet. The former option allows you to connect with an existing wallet on any other crypto platform, and the latter allows you to create a new wallet on Metamask.
To connect your metamask with a polygon blockchain network, you must select the former option.
Step 4: Open Polygon Wallet
You will now have to open your polygon wallet on a new window or your mobile application. The blockchain dashboard will provide a ‘recovery’ option to the user. The user will be redirected to a new page.
This page will notify the Secret Recovery Phase. This is an eight-digit alphanumeric code. The user must take note of this code and save that in a secured ecosystem.
Step 5: Enter This Security Code In Metamask
Once you have selected the option of importing the wallet, you will have to select the type of wallet you want to connect.
It will display a list of the available and compatible wallets with Metamask. You have to look for a polygon. Select this wallet to establish a link between the two.
Step 6: Enter The Confidential Details
A dialog box will appear. The user will now have to enter these credentials and the login option. Enter the eight-digit recovery phase code you got from your polygon wallet. Once you confirm these login details, your polygon wallet gets added to metamask. You can now access all the tokens and the coins stored in Polygon on Metamask.
Step 7: Configure The Wallet
As a final step, the users must configure the wallet once before proceeding. The right-hand side panel of the metamask will allow you to configure the wallet so that the transactions are executed at the same time in a hassle-free manner.
Once you successfully configure the wallet, you can easily transact the polygon tokens on metamask. Click on the confirmation email, and you are good to go with the transaction.
With the help of these easy steps, you can easily utilize the space on the crypto network. This is actually helpful for settling the transactions.
Conclusion
With this, the ease of performing the settlement on the platform increases. This is one of the most useful criteria that must be taken into account.
This increases the vitality of the transactions. The risk to the settlement of trades also decreases because metamask operates on a much more secure protocol as compared to the other wallets available.
